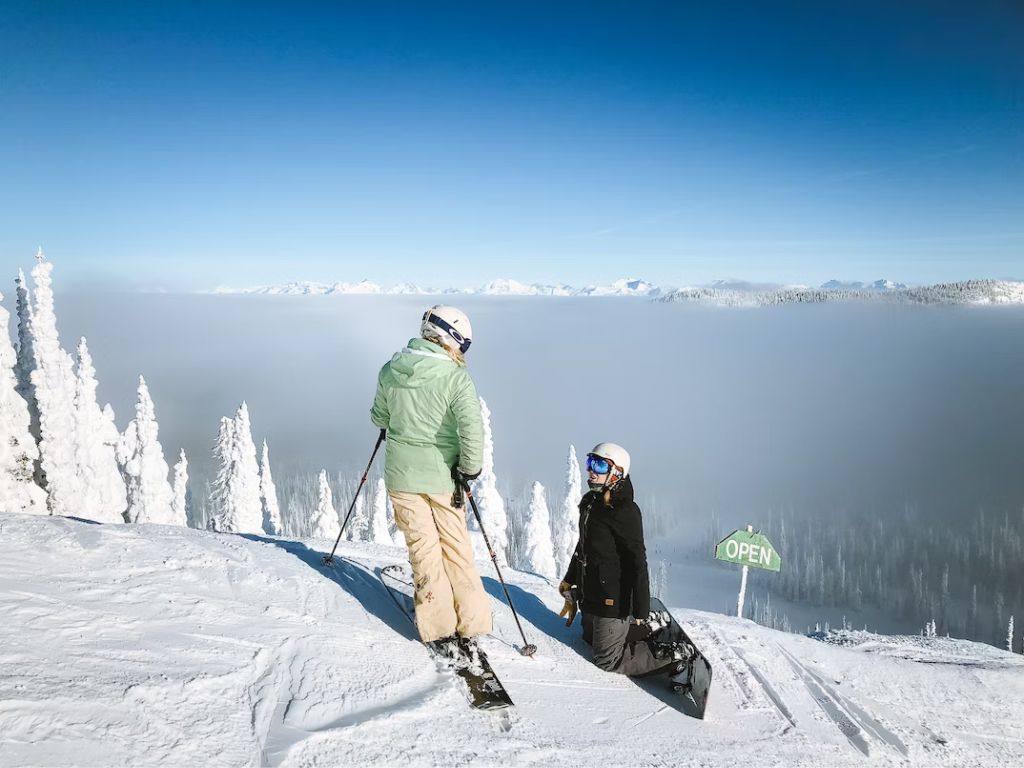
There’s a moment that I’ll never forget: cresting the peak of a snow-capped mountain at Aspen (Colorado), board strapped to my feet, and realizing that I had finally moved past being a mere beginner.
For some of you, snowboarding is more than just a winter pastime. It happens when you cross the beginner stage and want to advance further. It becomes a journey of continuous improvement, where each carved turn and small jump represents a step toward mastery.
Whether you’re looking to transition from carving green runs to shredding black diamonds or to add some advanced tricks to your repertoire, the road ahead is both exhilarating and demanding.
So, be prepared, and let’s get started.
Step 1. Assess Your Current Skill Level
Remember the first time you stood on a snowboard? If you were anything like me, the mountain seemed like an Everest-sized obstacle.
Those bunny slopes transformed into playgrounds as time passed, and the greens became easy glides. That’s how you know you’re progressing, but how do you measure it?
Here’s a quick breakdown:
- Beginner: You’re still getting used to your board; green slopes are your best friends.
- Intermediate: You can confidently tackle blue runs and have dabbled in some freestyle tricks.
- Advanced: Black diamonds? Bring ’em on! You’re comfortable with speed, carving, and maybe even aerial tricks.
Trust me, overestimating your skills can land you in tricky—often painful—situations. Evaluate what you’re comfortable with and what still needs work.
Step 2. Setting Realistic Goals
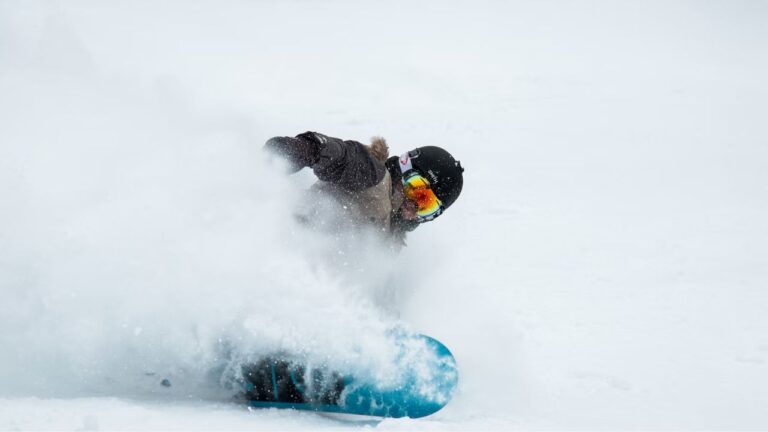
Short-term goals could be as simple as mastering a new carving technique or learning a basic jump. These are building blocks for your long-term ambitions, including taking on black diamonds or nailing a complex trick.
For me (a beginner), the goal was to perfect the ‘nose grab.’ Took a bit of time and a lot of tumbles, but the satisfaction was worth every bruise.
A realistic milestone for an intermediate snowboarder looking to advance might be to go down a blue run without falling or to perform a small jump successfully.
Step 3. Picking the Right Equipment
A carpenter wouldn’t be much without his tools; the same goes for a snowboarder. The right equipment can make a world of difference.
When I first started, I was using a basic, all-mountain board that was forgiving of my many (many!) mistakes. Most likely, you’re in the same boat.
As you progress, you’ll soon realize that your dear board has started holding you back. That’s when you must switch to a more advanced model suitable for your riding style.
Additionally, don’t underestimate the power of comfort and fit; they directly impact your performance. That means your boots and bindings should fit like a glove.
Step 4. Enhancing Techniques
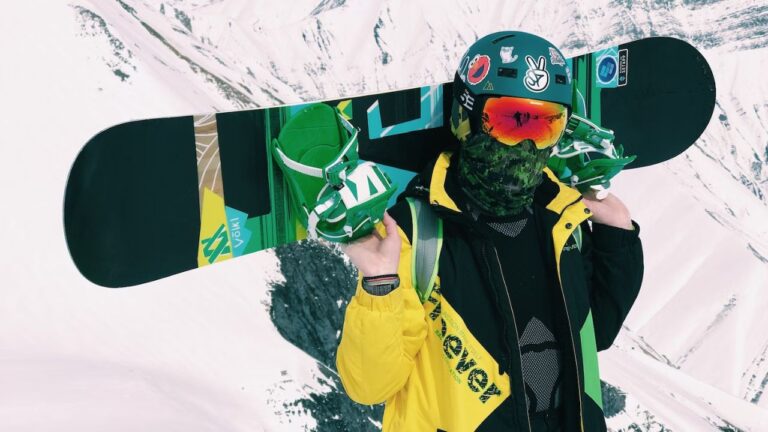
Having the right equipment is only half the battle. Next, we gotta master the techniques to make those tools work for you.
As an intermediate, you might already be familiar with carving and switch-riding techniques. Focus on your toe-side turns or backside spins.
For me, it took a solid week to get my carving down. This is where the principle of ‘practice makes perfect’ comes in. You’re training your muscles to remember that movement when practicing a technique.
That’s muscle memory for you, and it’s a game-changer.
Step 5. Seeking Professional Guidance
It’s definitely tempting to master the slopes through sheer grit and determination. I used to be convinced that YouTube tutorials would make me a snowboarding guru.
But let me save you some time (and probably some injuries): there’s no substitute for professional guidance.
A good instructor can identify your weaknesses, fine-tune your strengths, and give you personalized tips you’d never get otherwise.
But you should spend your dollars on something other than any random course. Do proper homework. Visit your local snowboarding shops and Reddit forums. Find an instructor who will push you and is familiar with your riding style.
Step 6. Physical Conditioning
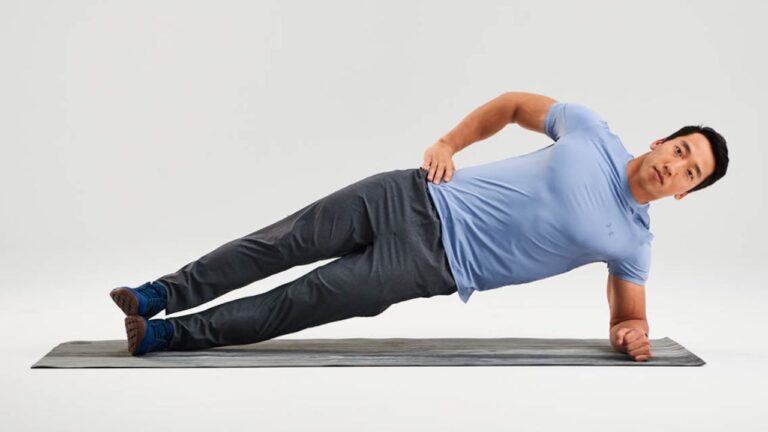
It’s not just about hitting the gym; it’s about targeted exercises complementing your snowboarding.
Plyometric exercises like box jumps can give you that explosive power needed for tricks. Core strength? That’s your stability right there. So, start adding some planks and leg blasters into your routine.
Trust me, nothing’s worse than cutting your day short because you’re winded and your muscles are screaming for mercy.
I stepped up my cardio and focused on endurance, which paid dividends when I could ride longer and tackle more challenging runs. I’ll always remember the day I landed my first 360.
It culminated weeks of focused practice, the right guidance, and dedicated physical conditioning. You’ll feel unbeatable when you perfectly stomp that final landing without being winded out.
Step 7. Mastering Advanced Skills
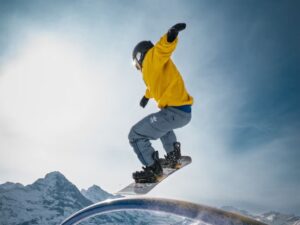
By now, you might be eyeing the half-pipe or itching to try some aerial tricks. But remember, advanced tricks come with advanced risks.
Always approach them with caution and, if possible, under professional supervision.
Safety is crucial. The first time I attempted a backflip, I wore protective gear from head to toe. Did I look like a snowboarding astronaut? Absolutely. Did it save me from injury? You bet.
Push your boundaries, but do it safely. A little precaution goes a long way.
Step 8. Practice! Practice! Practice!
Remember the old saying, “Rome wasn’t built in a day?” Neither will your snowboarding skills.
Snowboarding isn’t just a weekend hobby; it’s a lifestyle. Commit to regular practice sessions, whether hitting the slopes every weekend or even a quick half-day during the week.
Expert QnA
Q. How long does it usually take to advance from a beginner to an intermediate snowboarder?
Generally speaking, with consistent practice and good guidance, you might see yourself transitioning from a beginner to an intermediate in a single season or two. The timeline can vary from person to person, depending on factors like instruction quality, practice frequency, and even natural aptitude.
Q. How do I know when I'm ready to try more advanced slopes?
Knowing when you’re ready for more advanced slopes is a blend of self-assessment and external input. If you’re comfortably cruising down intermediate slopes and find them less challenging, that’s a good internal indicator.
Q. What physical exercises can help improve my snowboarding?
Core exercises like planks and Russian twists are key for strength and stability. Squats and lunges should be your best friends to improve leg strength and control. Throw in some cardio—anything from running to cycling—for stamina.
I love mixing in plyometric exercises like box jumps for that extra power on the slopes. Trust me, your future snowboarding self will thank you!

